
How to Stain a Deck That Actually Lasts
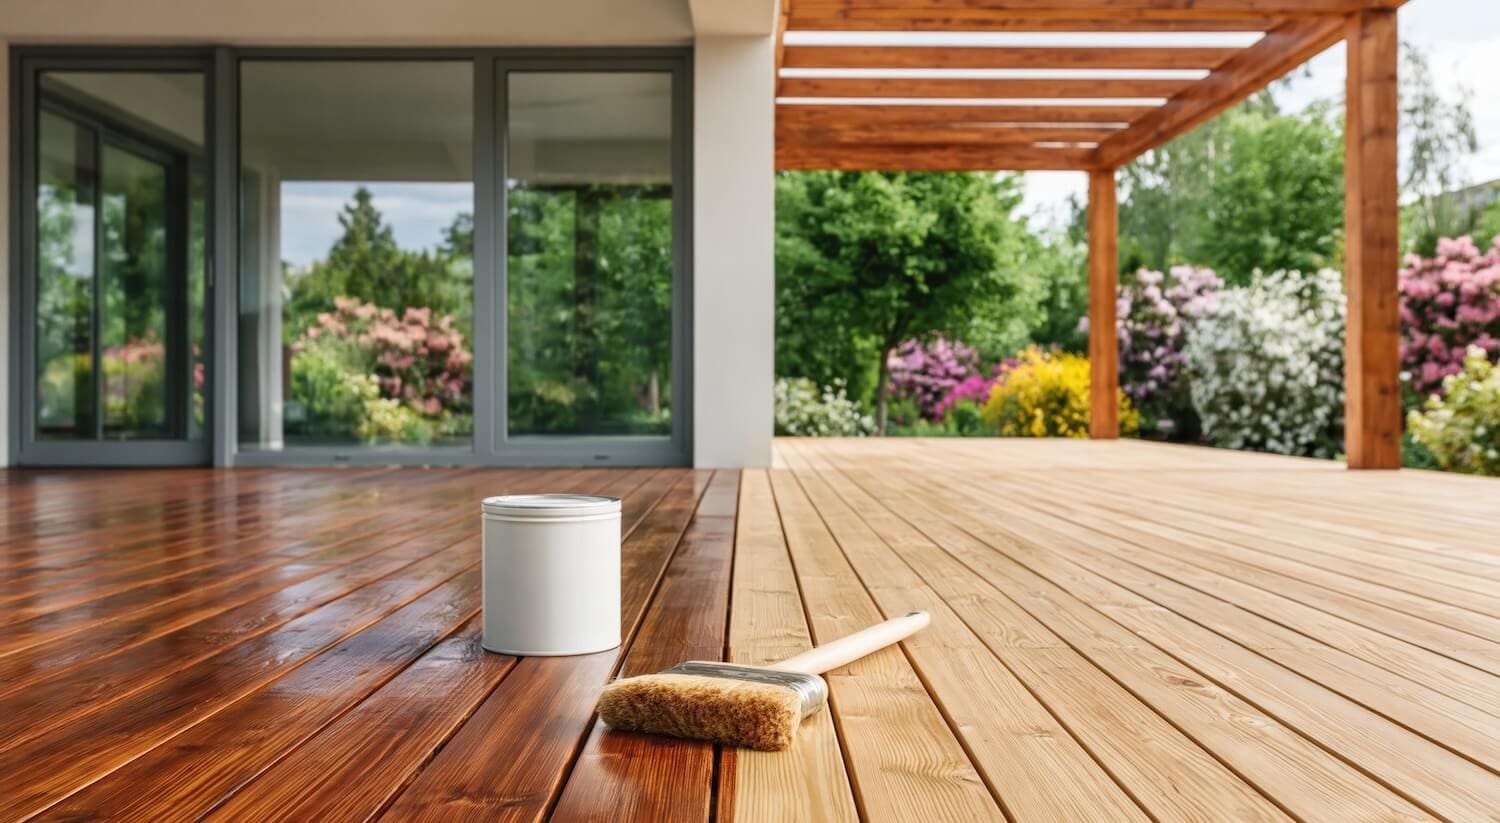
Staining a deck is one of those projects that looks simple and punishes shortcuts. The staining itself goes fast. What decides whether the finish stays warm and even for years, or turns blotchy and gray by the next summer, is everything that happens before the stain goes on. Prep is the whole game.
Practical know-how on prep, color, timing, and what makes a finish last, from a crew that works the Gorge daily—from Stevenson to The Dalles, Hood River to White Salmon. Browse the latest below. When you are ready to put any of it into practice on your own home, a free quote is a phone call away.
Here is how a deck stain is done right, if you tackle it yourself or if you hand it off.
Why Prep Beats the Stain Itself
Stain only lasts when it penetrates the wood. A surface that is dirty, sealed by an old finish, or still damp will not let the new stain soak in, and stain that sits on top instead of soaking in is stain that peels. Almost every blotchy, short-lived deck finish traces back to prep that got rushed.
So before you think about color, think about getting the wood clean, open, and dry. That is the part that makes the difference.
Step One: Clean and Strip
Start by clearing the deck completely and cleaning the wood back to a sound surface. Dirt, grime, mildew, and old flaking finish all have to come off. A thorough wash handles the surface grime, and this is where pressure washing earns its place, as long as it is done with the right pressure. Too much force gouges soft wood and raises the grain in a way that causes problems later, so the method has to match the material.
If the deck has an old film-forming finish that is peeling, that usually needs stripping, not just washing. Stain will not bond over a failing coat, so it has to go.
Step Two: Brighten and Sand
Gray, weathered wood is not just cosmetic. That gray layer is damaged surface fiber, and stain does not take well to it. A wood brightener restores the tone and, more importantly, opens the surface so it can accept the new finish. On rough spots, splinters, or a previously sealed surface, light sanding helps the stain penetrate evenly.
The goal at the end of this step is a clean, uniform, open surface, the kind of wood that will drink in stain rather than repel it.
Step Three: Let It Dry
This is the step people skip, and it costs them. Wood that is still holding moisture from washing or rain will not take stain properly, and the finish will fail unevenly. Depending on the weather, a deck usually needs a couple of dry days after cleaning before it is ready.
The same logic applies to timing the whole project. A stretch of dry, mild weather gives the stain the conditions it needs to cure. Staining right before rain, or in the heat of direct afternoon sun, works against you.
Step Four: Choose the Right Product
Not all stains are equal, and the right one depends on the wood and how the deck gets used. A horizontal deck surface takes sun and foot traffic, so it needs different protection than a vertical railing or a fence. Penetrating stains that soak into the grain protect from within and wear gracefully, fading over time rather than peeling in sheets, which makes them easier to refresh down the road.
Matching the product to the surface is exactly the kind of call that a crew doing this work every day gets right and a first-timer often gets wrong.
Step Five: Apply With Care
When the wood is prepped and dry, apply the stain evenly, working it into the grain and keeping a wet edge so you do not leave lap marks. Pay special attention to end grain and the gaps between boards, since those spots drink up the most and fail first if they get missed. Thin, even coats beat one heavy coat that pools and stays tacky.
Then let it cure fully before putting the furniture and foot traffic back. Patience at the end protects all the work that came before it.
Know When to Hand It Off
Plenty of homeowners stain their own decks, and with careful prep it can turn out well. But a deck is a big, visible surface that shows every shortcut, and the prep is genuinely the hard part. If your deck is large, badly weathered, or you just want it done right the first time, it is worth bringing in a crew that does wood staining constantly.
If you would rather skip the weekend of scrubbing and get a finish built to last, get a free quote from Full Bloom Painting. We will assess the wood honestly, match the product to your deck, and give you a stain that stays warm and protected for years.